709-218-7927 The Landfall Garden House 60 Canon Bayley Road CANADA A0C 1B0 |
|
|---|
.JPG)
Vermicomposting – A Mini Indoor Tower Vermicomposter
Saturday, December 20, 2008
So perhaps you don’t trust me when I say that your worms will hatch next spring, and you’d like to keep a small colony ticking over indoors.
Fair enough.
Here’s how with a minimum of work, mess and bother.
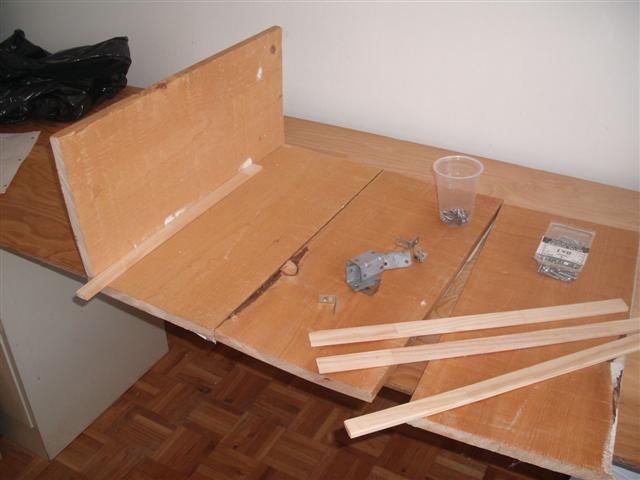
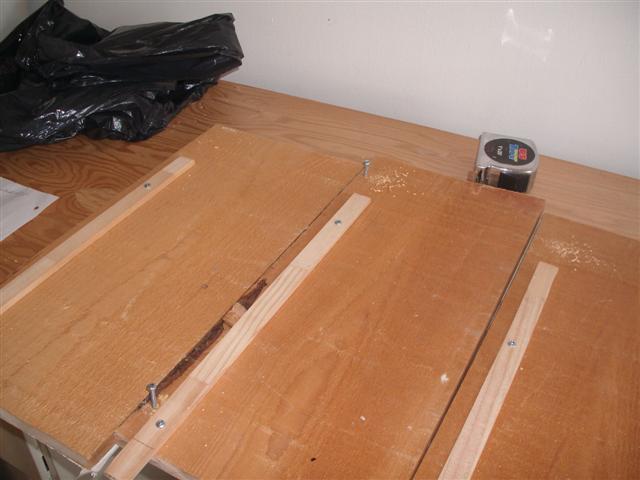
I grabbed 4 pieces of shelving, old planks which were conveniently about 20 inches long and about a foot wide.
I grabbed four pieces of bookcase strapping, eight small angle-brackets, a beaker of used screws (and a bubble of new ones in case I ran out of old ones!).
I’m going to join the planks butt-end, with just two long wood screws. There’s no load here; they need only to be “tacked together”.
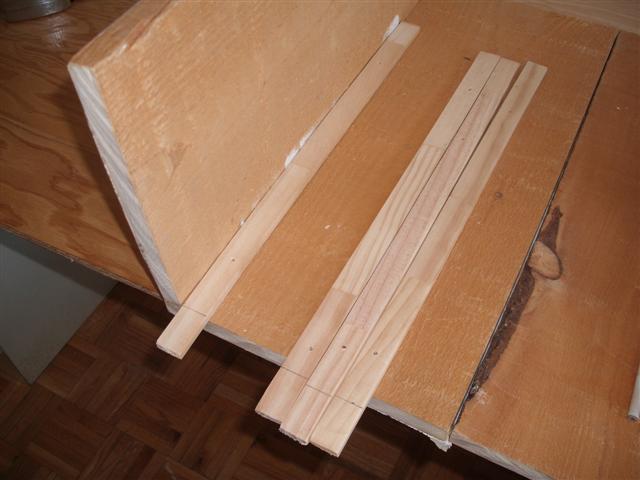
The little bits of strap will protrude 1˝“ below the box so that vermicompost can be removed as it accumulates.
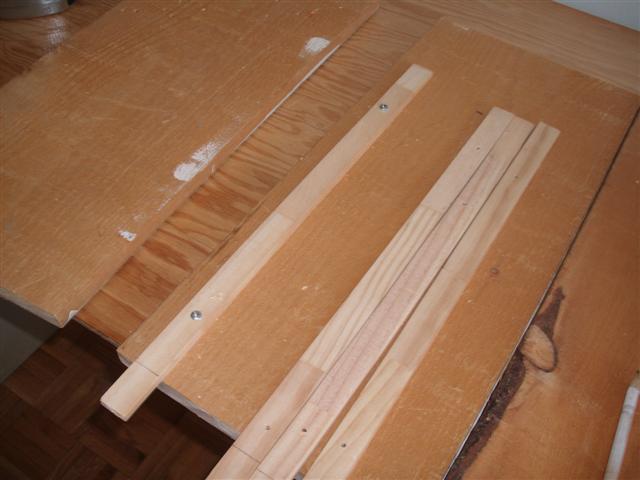
I have drilled holes four inches and eighteen inches up from the bottom of each leg. Here the first leg has been screwed in place using ˝ “ screws. That should do. They need carry only the weight of the planks, not the weight of the material enclosed in the tower.
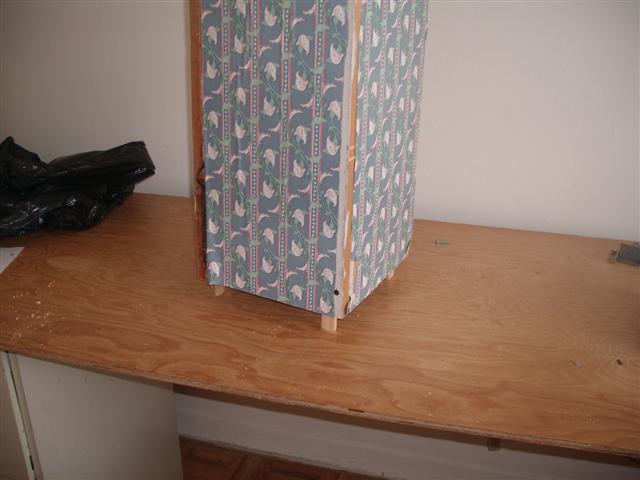
The four legs are in place, each one protruding 1˝“ below the lower edge of each plank.
I drill right through the plank on one side. These two holes will take the 1˝“ screws. I’ve positioned two such screws to indicate the holes, although I’ll be screwing from the other side.
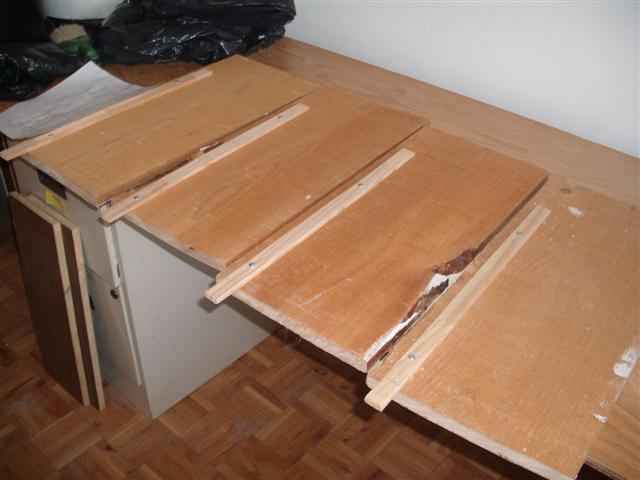
I use 8 screws to screw the four sides together. It seems to me to be a remarkably robust structure for a butt joint.
Oh yes. The neat design. These are planks from a very old set of shelves in a closet far far away. I decided it would be nice to leave the tatty old paper in place as a decorative measure. I’m not in the habit of dressing UP my vermicomposters!
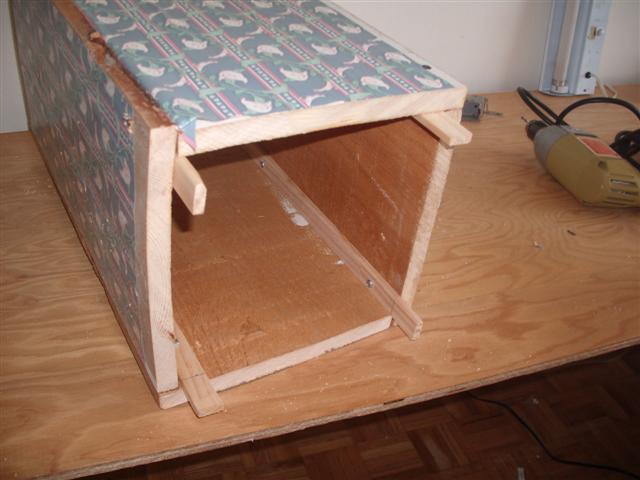
Here’s a view of the assembled box from what will be “below”. You can see two of my short screws holding two legs in place.
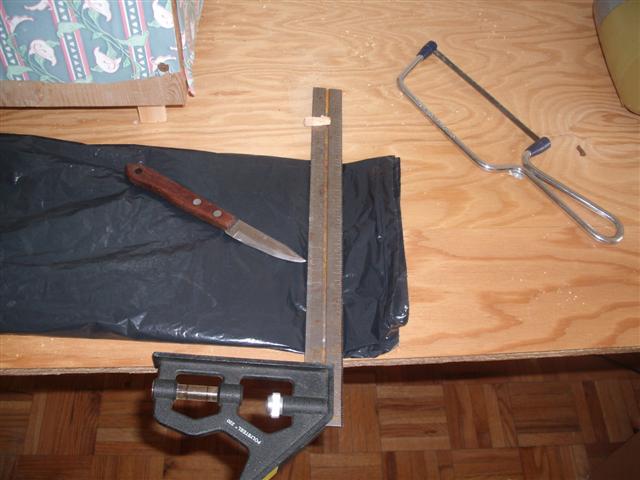
Now I’ve folded a garbage bag so that I can cut off the sealed end, making a long black cylinder of plastic which will form a sleeve for the vermicomposter.
Why the hacksaw? Well you can see the chip of wood I trimmed off one leg. With all my “measure twice, cut once” attitude I still got it wrong. Sigh!

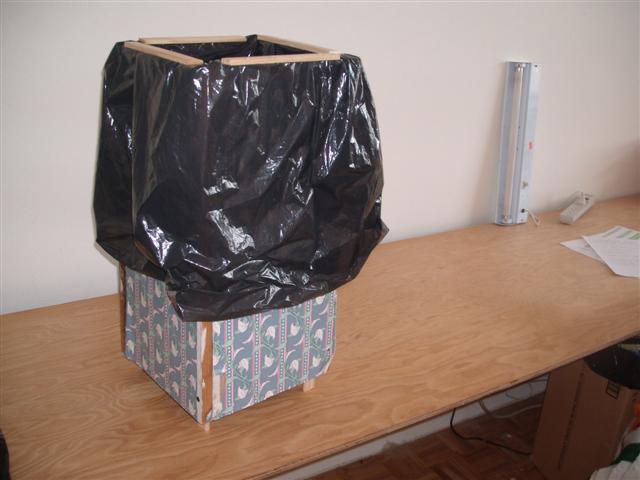
I adjust the sleeve so that it reaches almost to the bottom of the box. I don’t want my shoveling to get caught up in shreds of plastic bag.
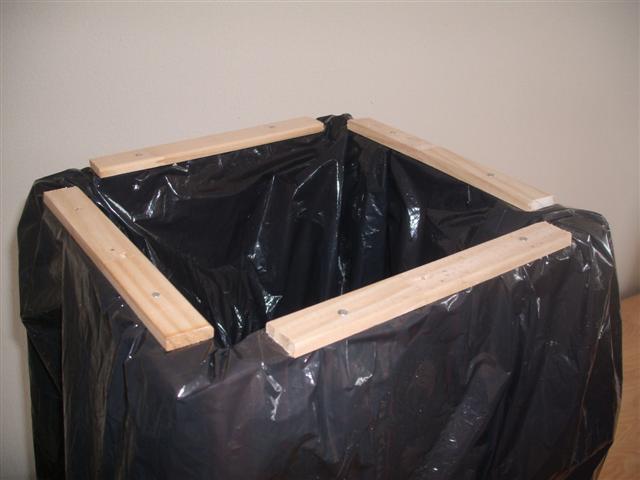
Here’s a view of the top with four 7” pieces of strap holding the plastic cylinder in place. I used headed pins. That’s strong enough. The strap means the plastic won’t tear away, as it would if I used only the pins.
Finished! When operational, I’ll fold the spare plastic over the top to help preserve an equable climate of moisture.
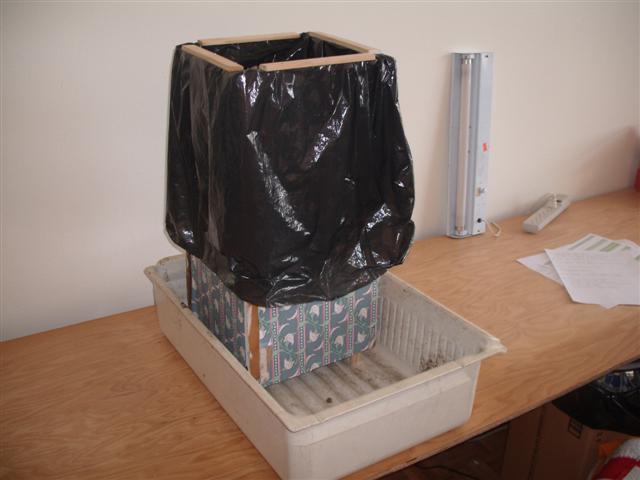
And the item will stand in a refrigerator vegetable drawer. You could park this unit in your kitchen, bedroom, office, even the living-room, should you elect to do so.
Loading
709 218 7927 CPRGreaves@gmail.com
Bonavista, Wednesday, June 03, 2020 11:33 AM
Copyright © 1996-2020 Chris Greaves. All Rights Reserved.