709-218-7927 The Landfall Garden House 60 Canon Bayley Road CANADA A0C 1B0 |
|
|---|
.JPG)
Green Wall
Saturday, September 04, 2010
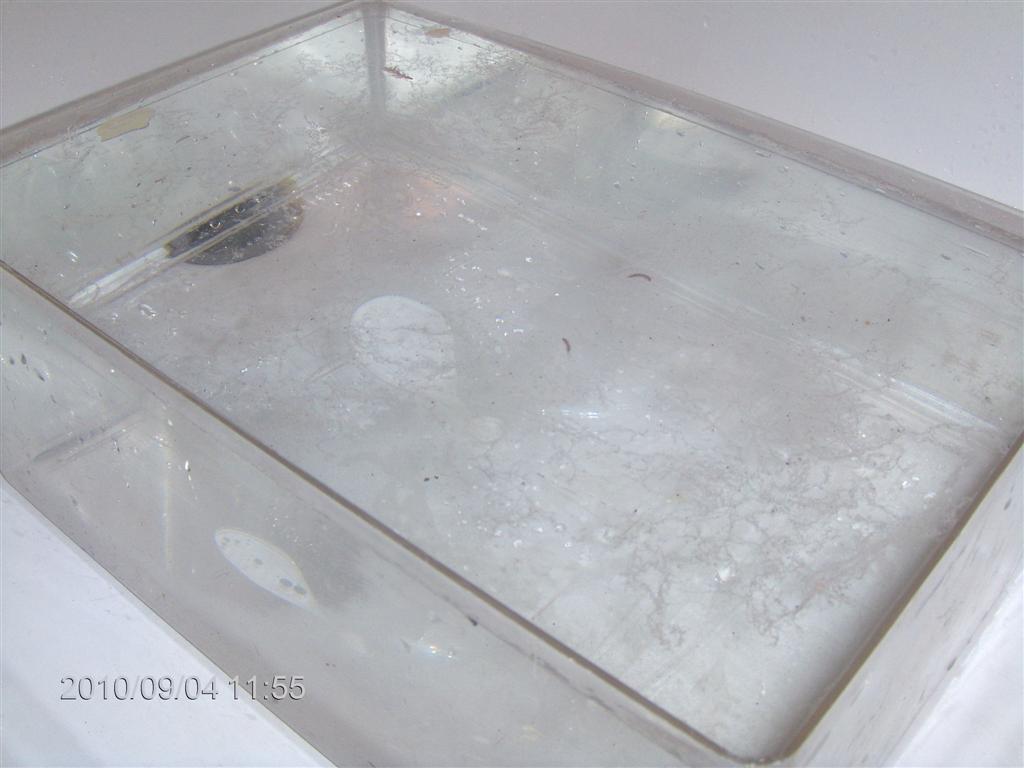
Well, I think I have found a suitable collector sump.
Here is its first test ľ does it hold its full capacity of water over a 24-hour period?
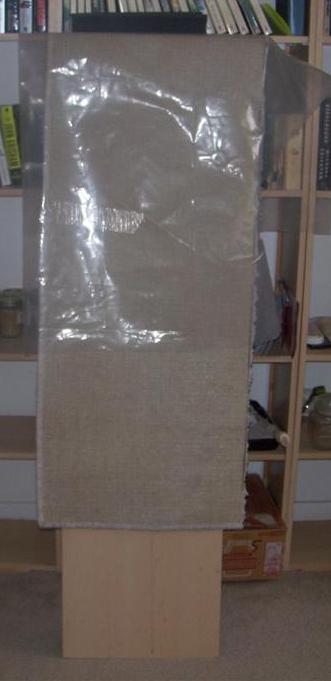
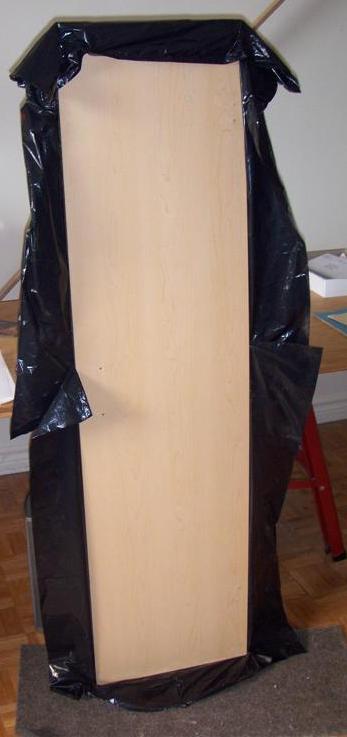
I have a plank, about four feet tall and fifteen inches wide.
I have cut a strip of old carpet, and here you see it draped pile-inwards.
My theory is that Iĺll mark a grid on the underside, punch holes in readiness to receive slips of philodendron.
Iĺll have a couple of plastic sheets between the pile and the wood. This sheet has a half-dozen small holes, but it will suffice for one layer to shield most of the water.
Iĺve found a couple of strips of foam (from a shipped laptop battery), and Iĺll use these at the top to dissipate the water from the feed sump.
Monday, October 11, 2010
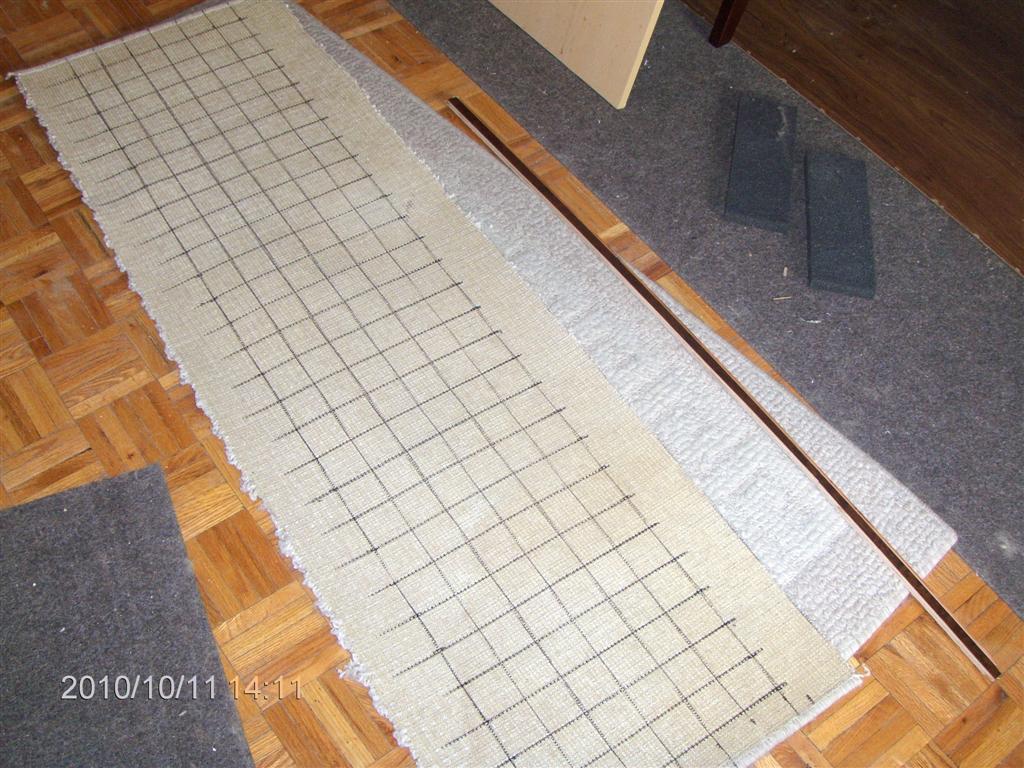
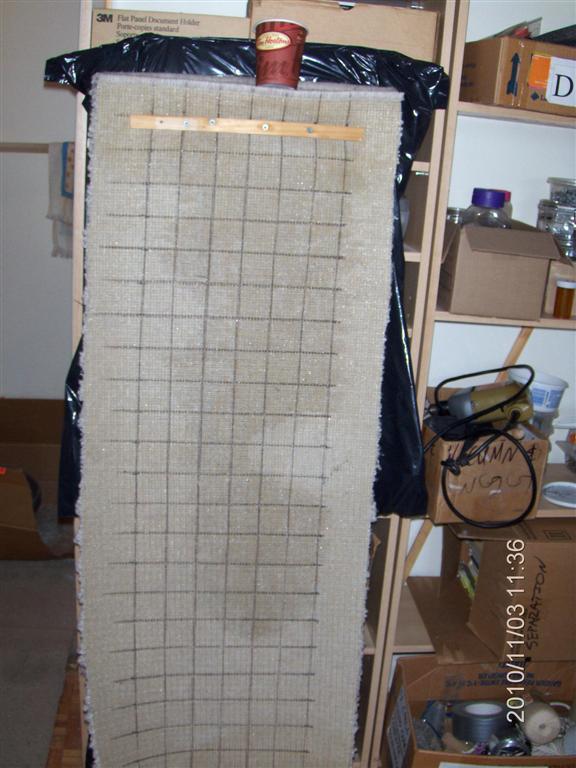
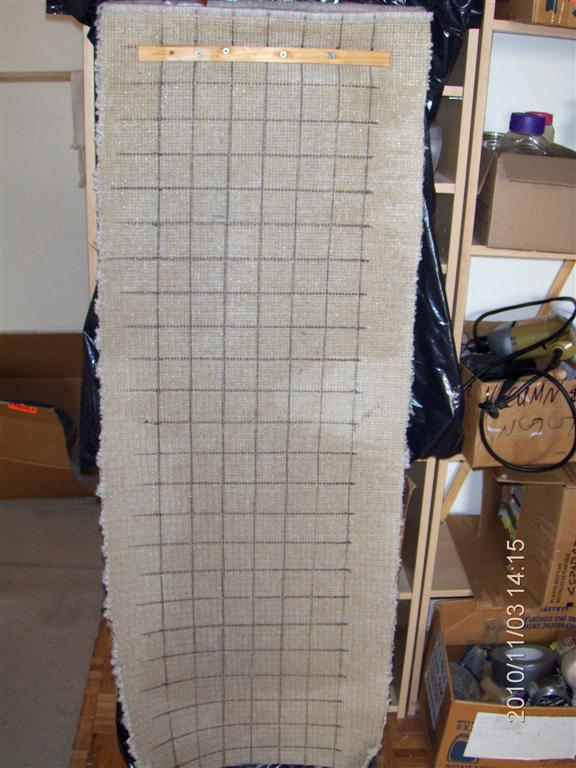
Two strips of carpet about 60 inches by 18 inches cut from an old floor rug have been cut to a size larger than the piece of plank. The carpet will overlap at the sides to provide a greater area for plants. The plant roots will train in towards the source of moisture.
I have marked the back side of one carpet into two-inch squares, offering about 200 intersection points. I will stab through each intersection with a sharp knife, making a small cross-like aperture through which I can punch a short philodendron stem. The rootlets on the stem will be sandwiched between the two furry sides of carpet and will, we hope, quickly take root and begin absorbing gray water.
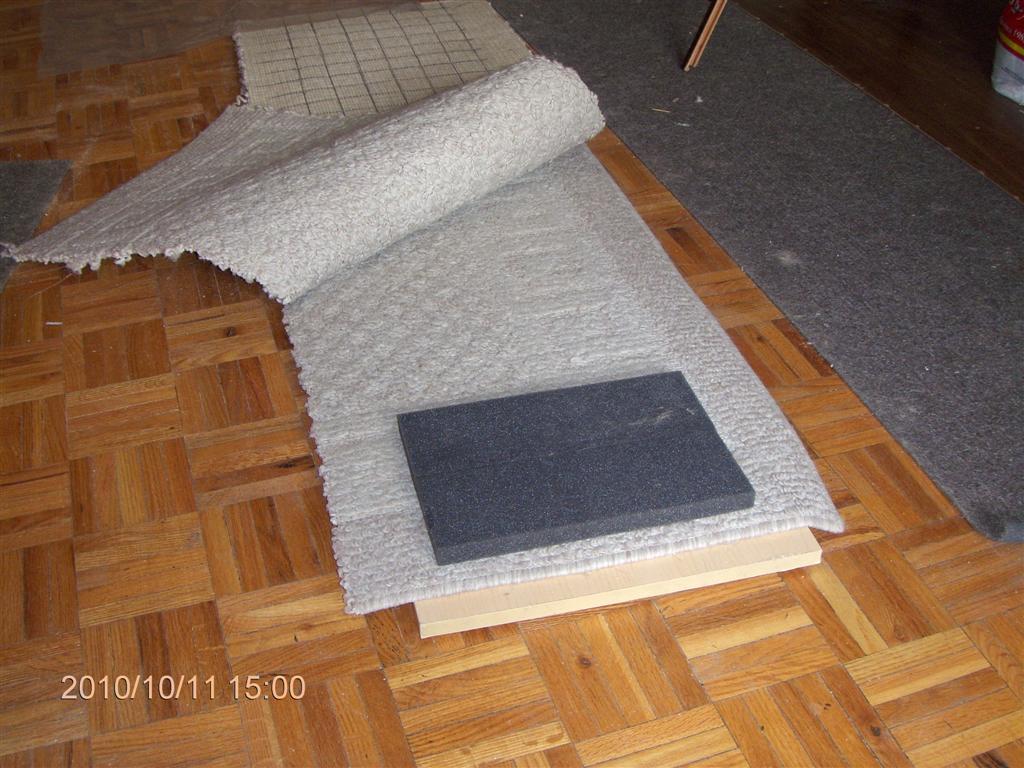
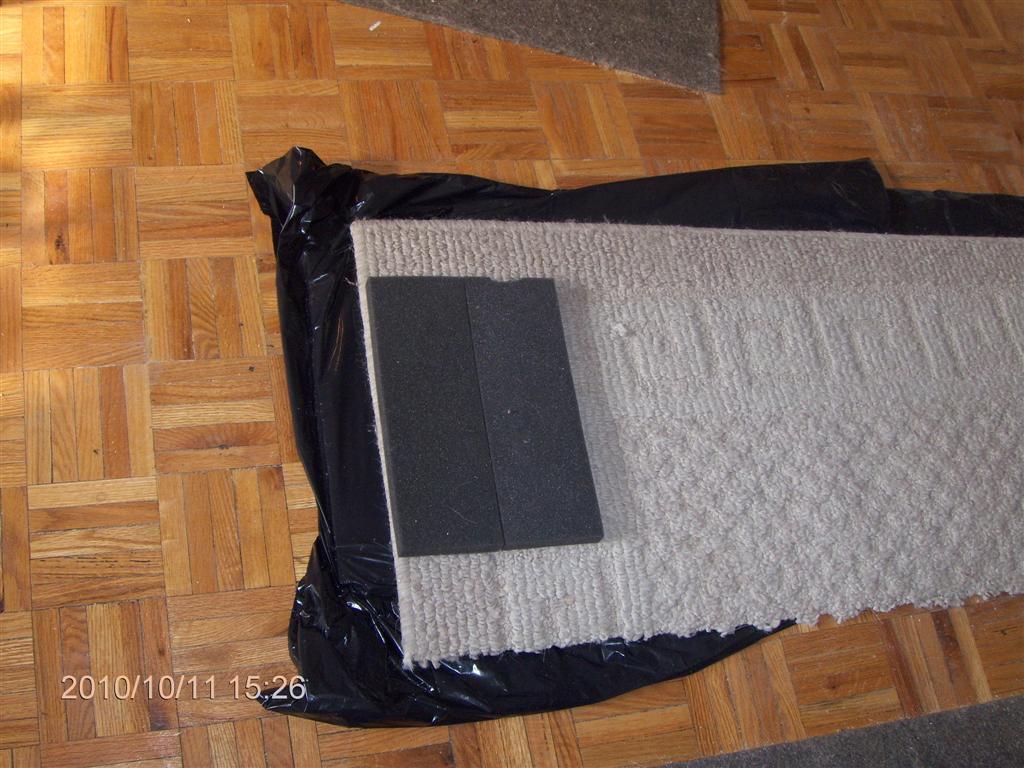
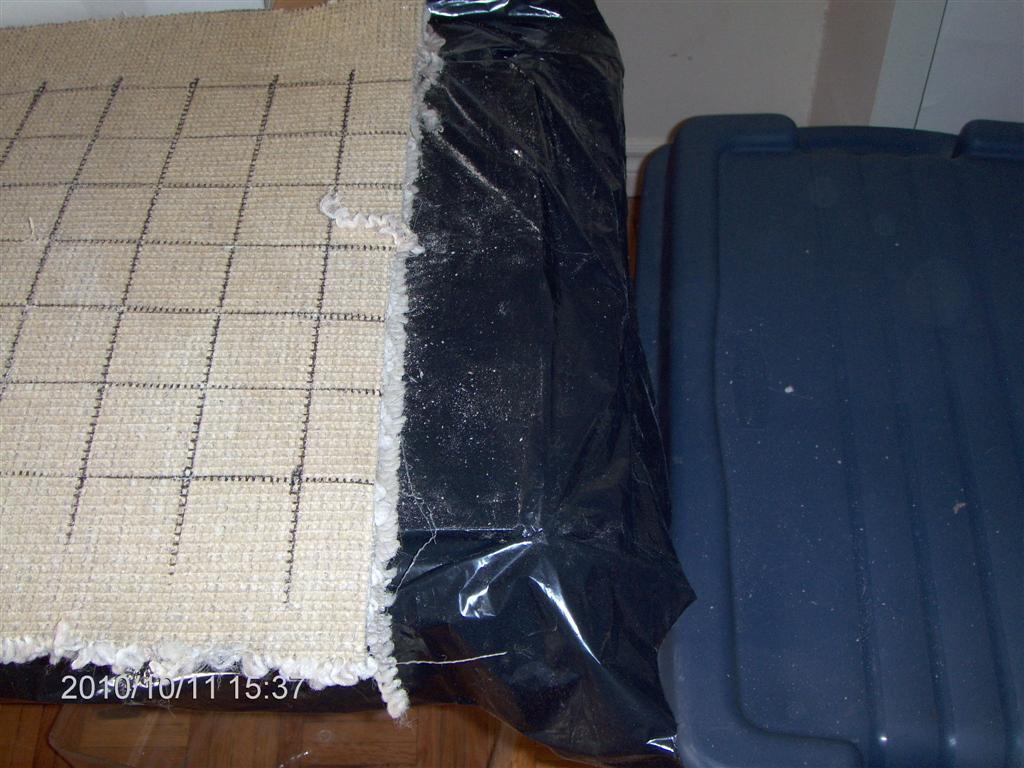
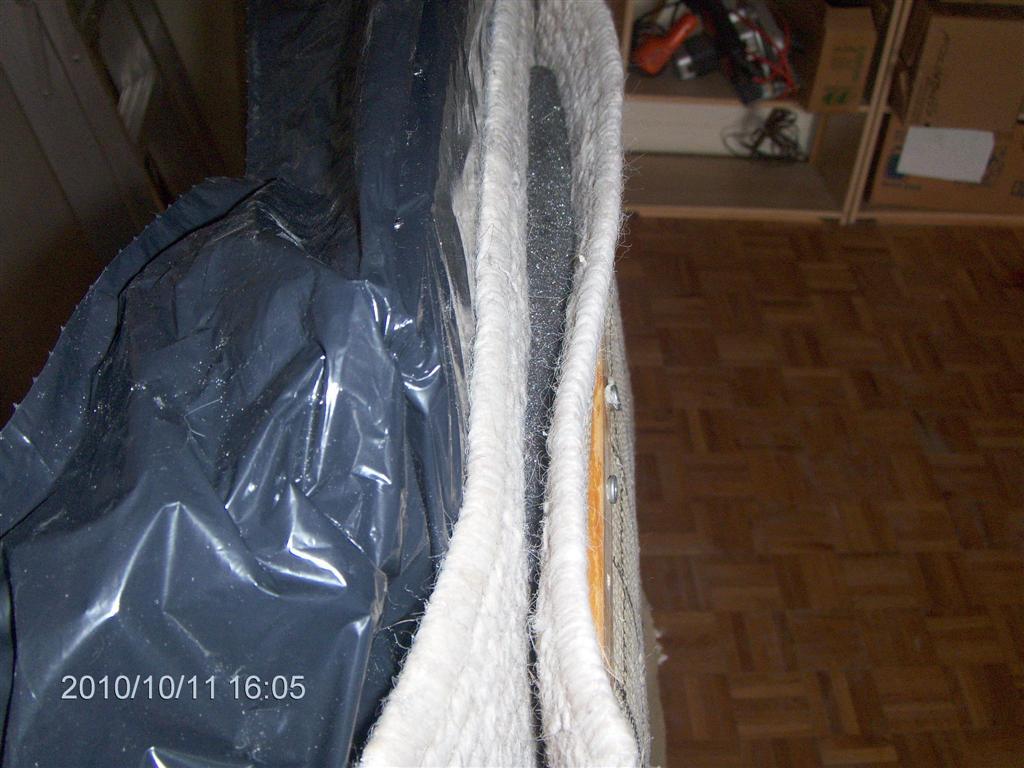
Here we see the plank, on top of it a strip of carpet wooly-face outward. Two strips of foam are placed side by side (from our point of view we are looking from the head of the wall to the foot of the wall), and the top strip is ready to be rolled over wooly-face inwards.
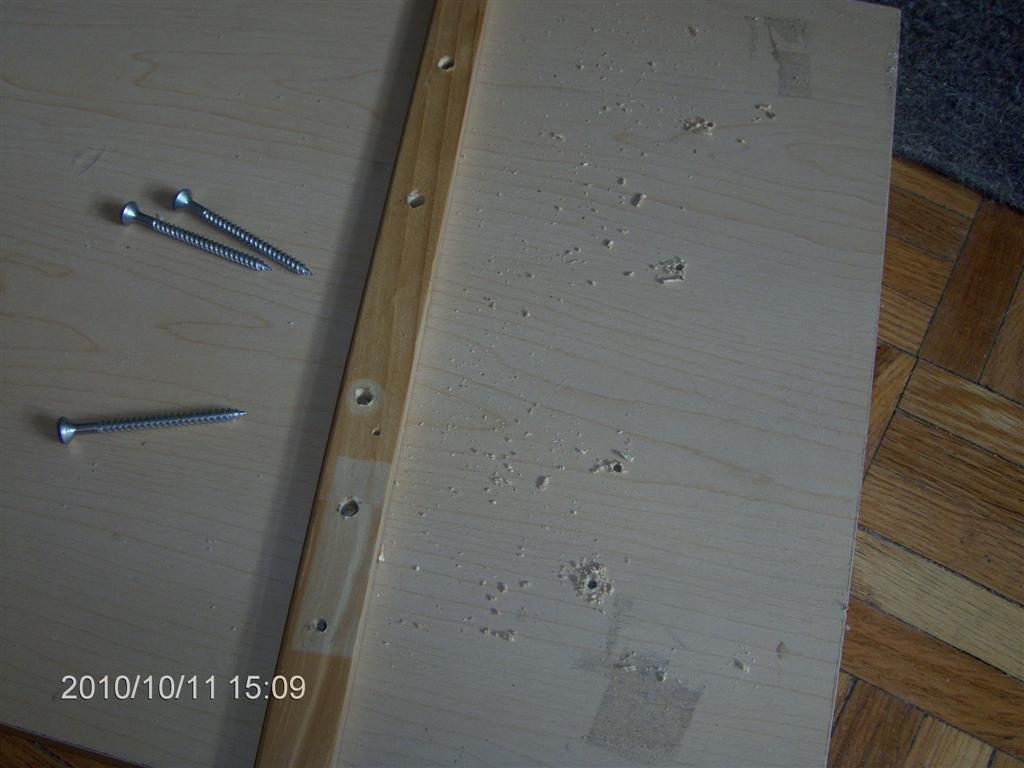
I have drilled four holes to receive 2Ż inch wood screws. The screws will pass through the wood strip, one carpet strip, the foam, one carpet strip, the plastic backing sheet and into the plank.
My idea is that the strip will hold the first foam strip and frictional pressure of the carpet will hold the second foam strip, unsecured, in place.
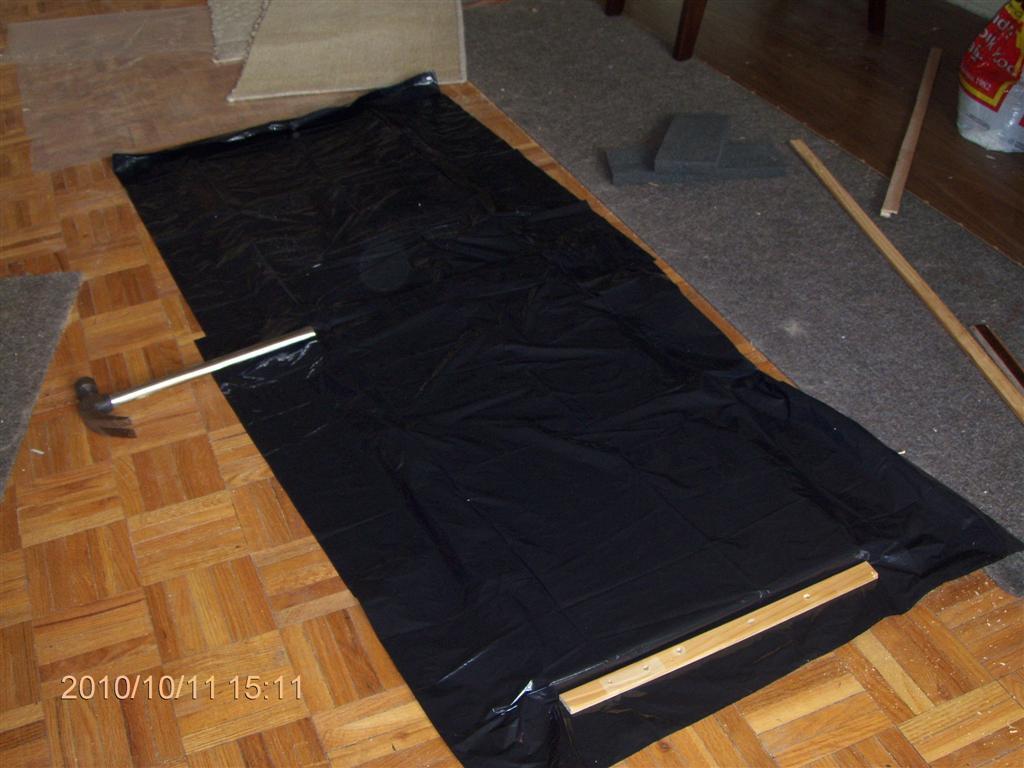
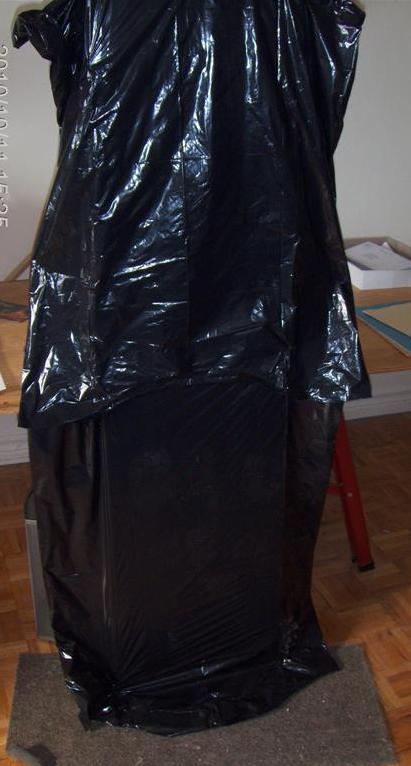
The carpet strip and foam removed, I am ready to carpet-tack two plastic garbage bags in place as an impervious layer.
The upper bag laps over what will be the top of the wall (nearest us in the photo) and will be carpet-tacked along the top edge of the plank.
The hammer shows where the top bag laps over the bottom bag.
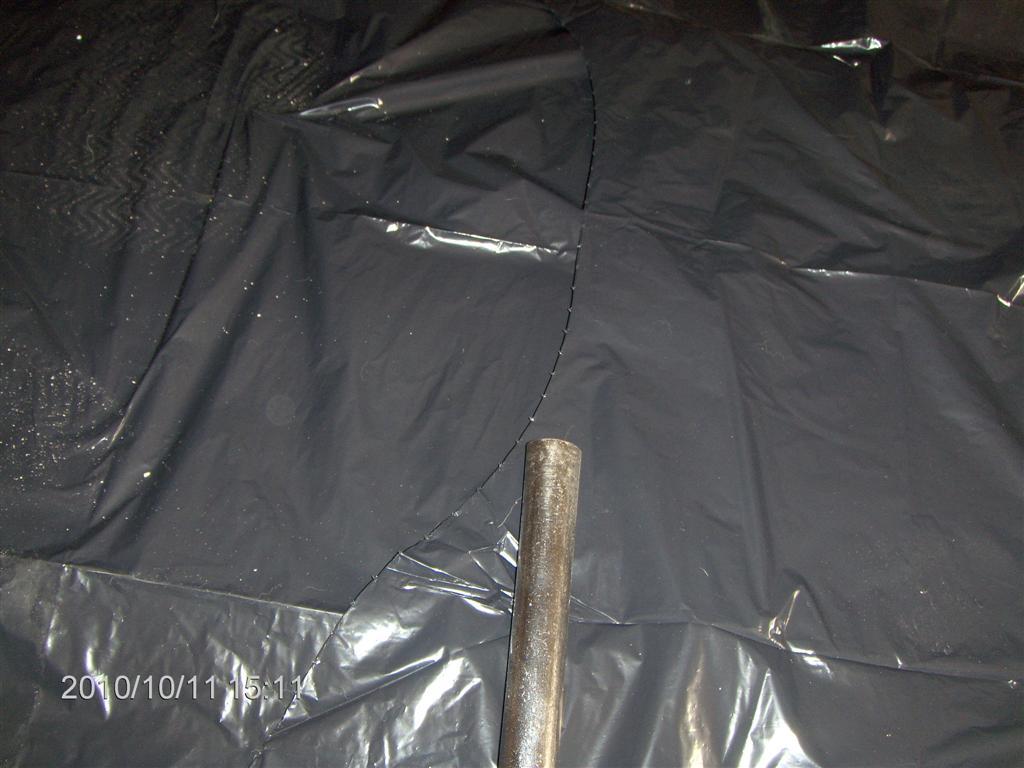
Here is a close-up view mid-way down the plank.
I have tacked along one edge of the lower bag. Now to flip the plank and tack the other edge.
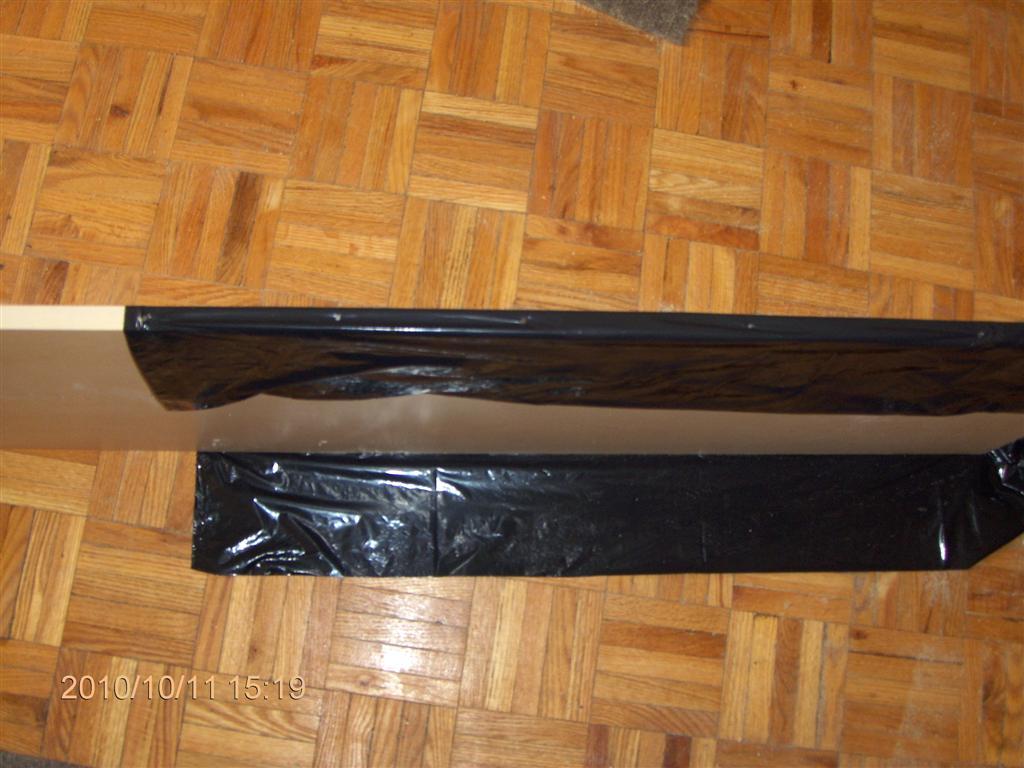
Both bags are tacked along the edges and the top bag has been lapped over the top of the plank and tacked in place along the top edge.
Looks a bit like a weather-proof coffin-lid, doesnĺt it?
Here the plank is reversed so that we can see the face-side, over which I will lay carpet strips.
The lower (inner) carpet strip is carefully aligned on the plank.
The two foam strips are placed just below the top edge of the carpet.
My plan is to run a 1 cm polythene pipe along the top edge of the foam, with drip-holed punctured every inch.
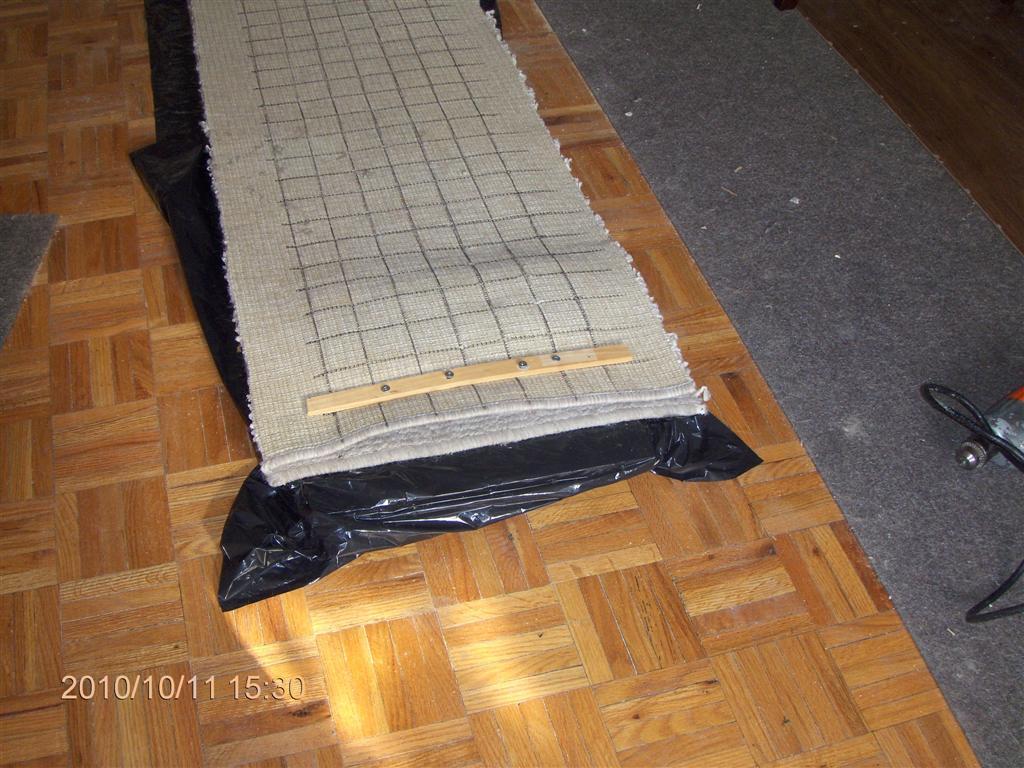
The top carpet strip is laid above the foam, and the wooden retaining strip has been screed in place.
CAUTION: When screwing on a floor, raise the work off the floor surface with a spare block, to avoid fastening your work securely to the parquetry floor.
Donĺt ask, OK?
I have trimmed about six inches off the bottom (foot) end of the inner strip. I want the carpet to end above the water level.
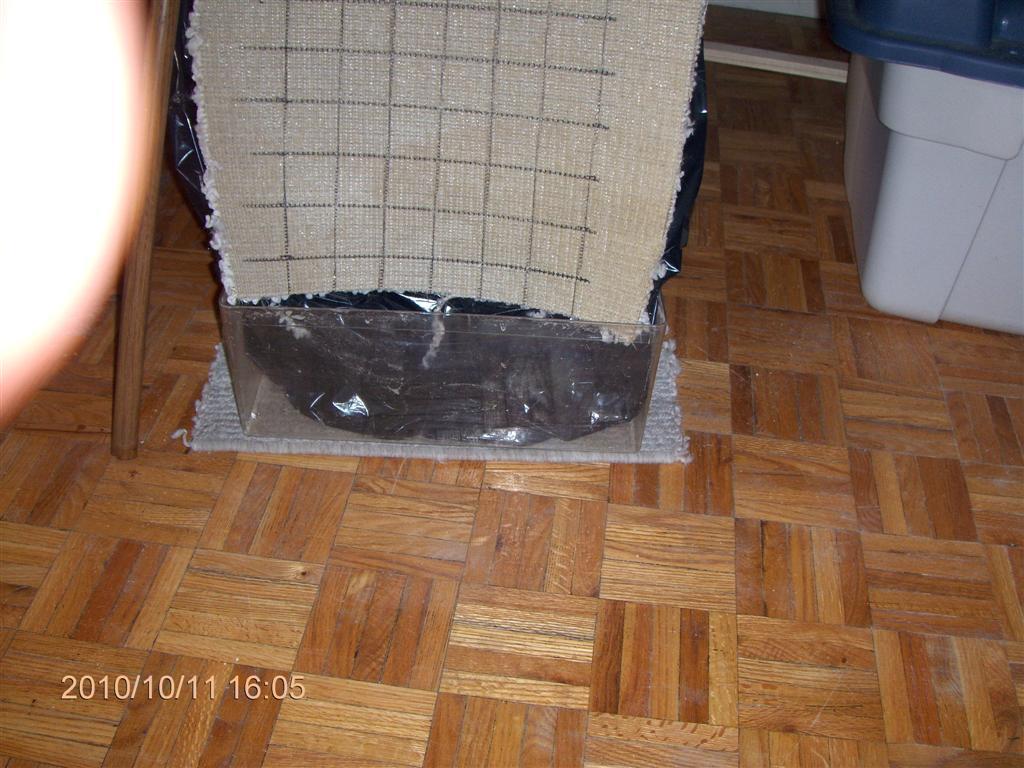
The lower edge of the plank shows about half-way between the carpet and the lid of the indoor vermicomposter bin .
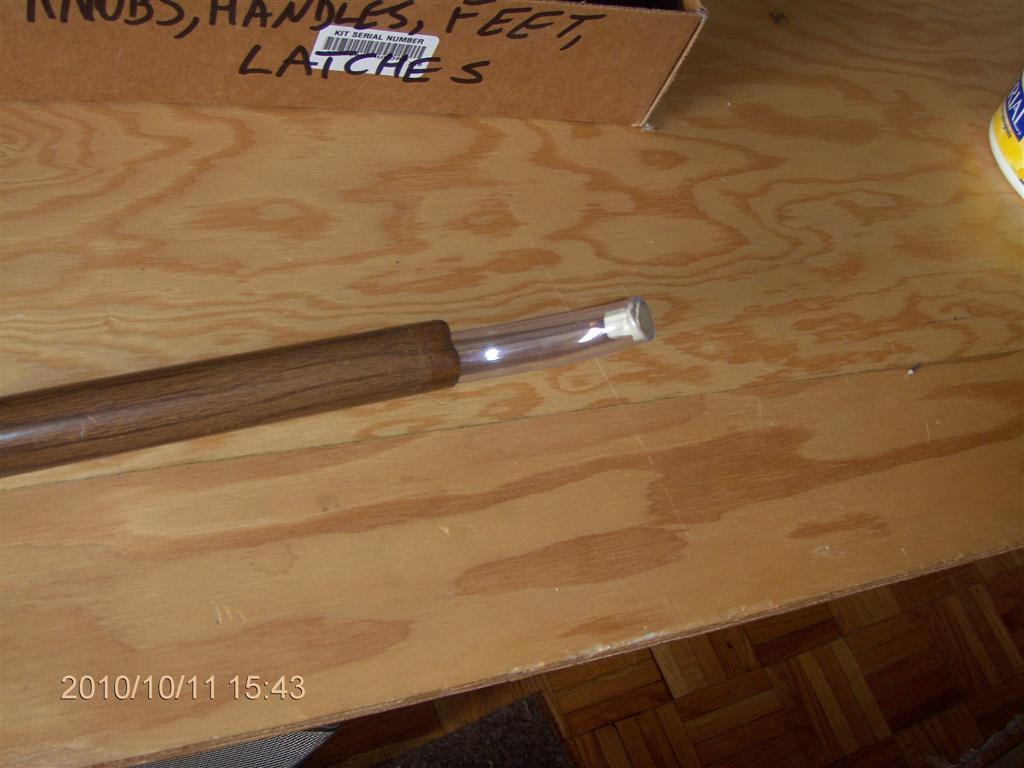
The 1 cm polythene tube arrived three months ago from a coil in back of the hardware store. If Iĺd any brains Iĺd have straightened it out long before now. Sigh!
I have capped one end with a plug from my box of oddsĺnĺsods, and am almost finished feeding the tube into a planter pole.
(Thinks: Must put up the planter poles for the spider plants Real Soon Now)
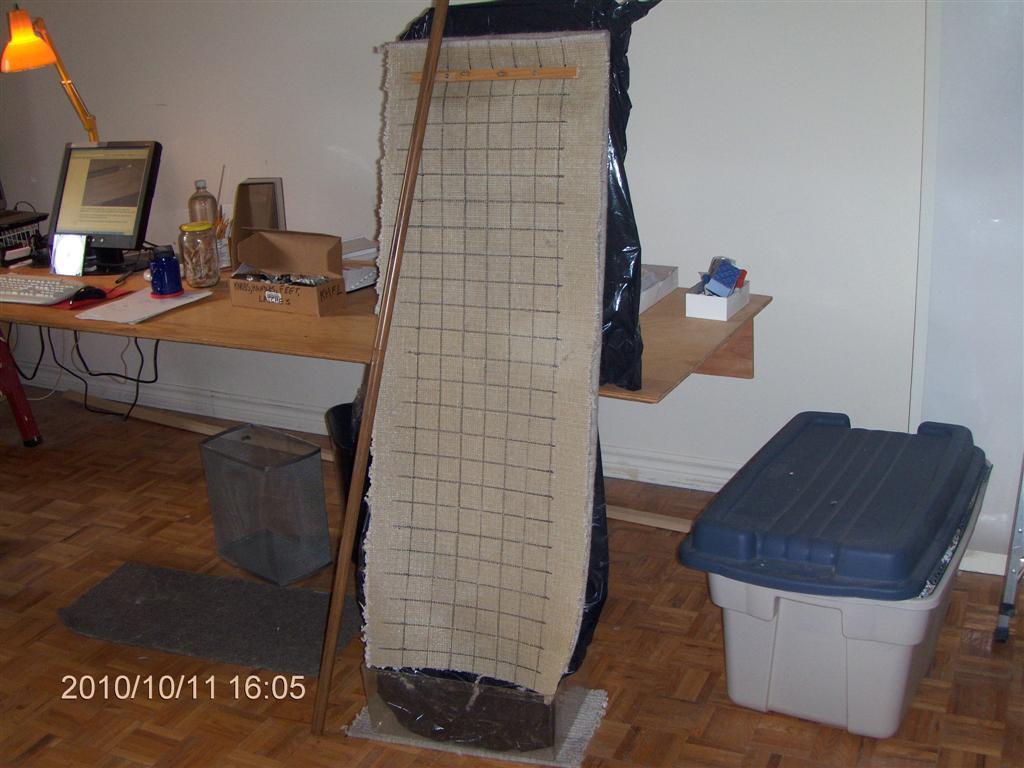
Here is my experimental green wall, assembled, set in the sump, with a spare piece of carpet under the sump to catch any stray drops of water or leakages.
The planter pole is busy straightening out my polythene tube.
I poured a half a pint of water onto the foam to see what happened. I think the foam needs wetting.
Next time I will rinse and squeeze the foam in a weak solution of detergent to remove any traces of oil, grease or plastic.
Yes, a good close-up of my left thumb.
Also a close-up of the green wall resting in the sump.
Here is a view on to the top of the wall, I am trying to show you the by now wet foam sandwiched between the carpet strips.
Wednesday, November 03, 2010
I have postponed work on the wall because I was worried about how to mount the plastic tube for drip-feeding.
Today I decided I didnĺt need a tube to get started.
A paper coffee-cup with a small hole in the base holds enough water to drip slowly onto the sponge, which distributes water across the top.
In the photo above you can see the stain that represents damp carpeting from two mugs of water.
After three mugs, the carpet is almost completely stained with moisture.
That seems good enough for a start.
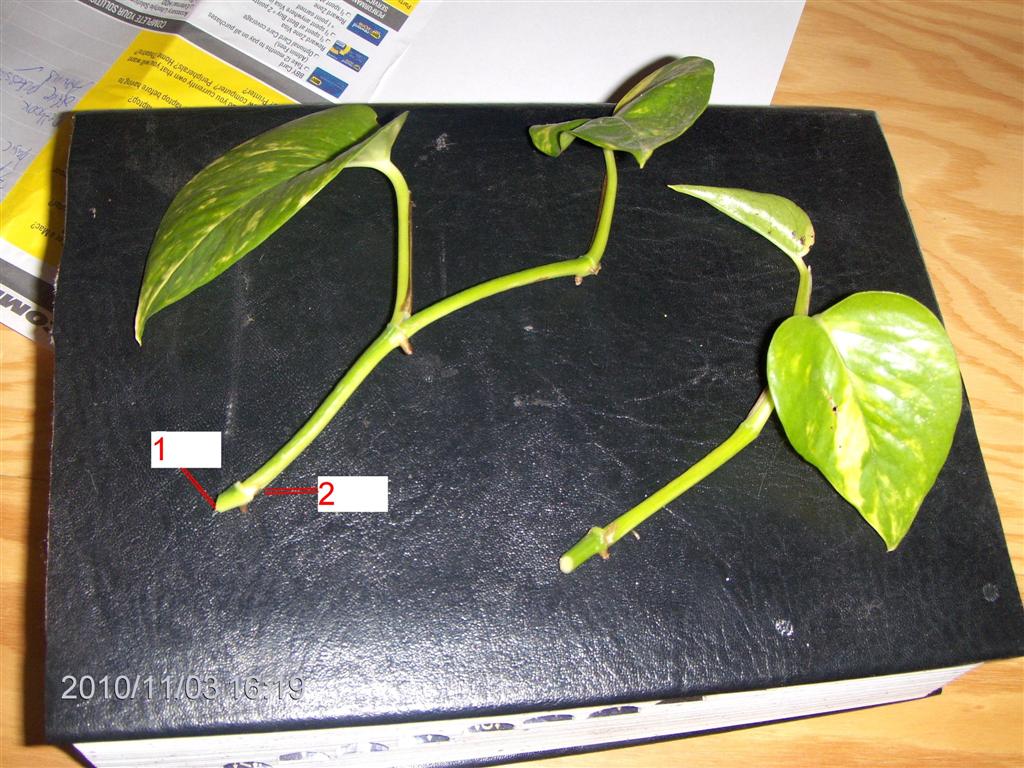
Now to the slips. I learned years ago to cut the slip just below the rootlet, to strip the leaf at the rootlet, and to leave two leaves (sorry!) above the rootlet.

Each slip is pushed into the previously-cut cross-cut.
In the shot above, the rootlet at the foot of the stem is well behind the carpet. The rootlet at the first leaf is pressed against the damp carpet back. Who knows? It may root ů
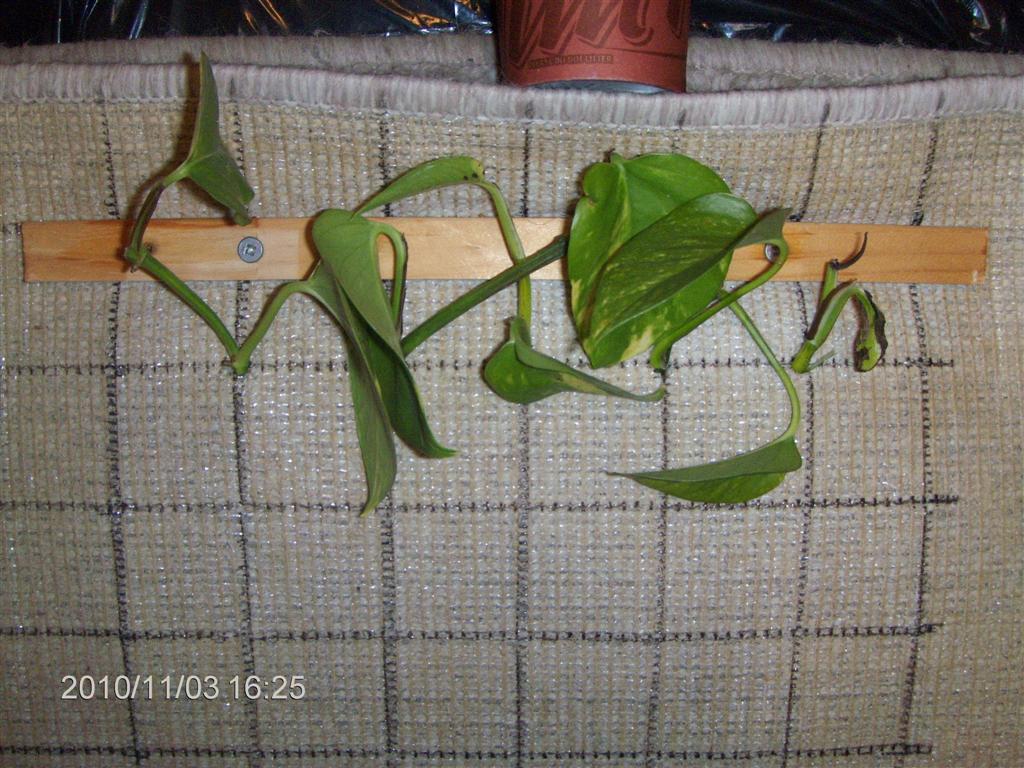
Here is my first row of slips.
For the time being I am ignoring my outermost columns, using only five of the available seven columns.
My reasoning is that after the five central columns have rooted, the outside slips will have a ready supply of moist roots to join. That is, I am afraid of the outside columns being too dry if they are too close to the edge of the carpet area.
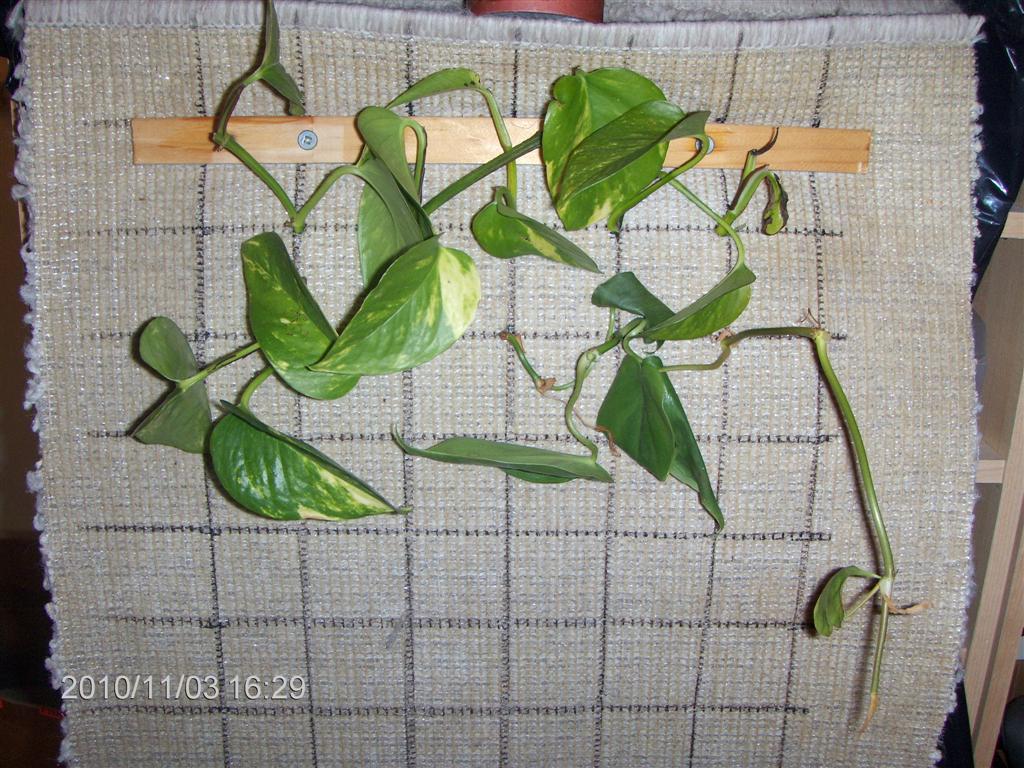
Two rows complete.
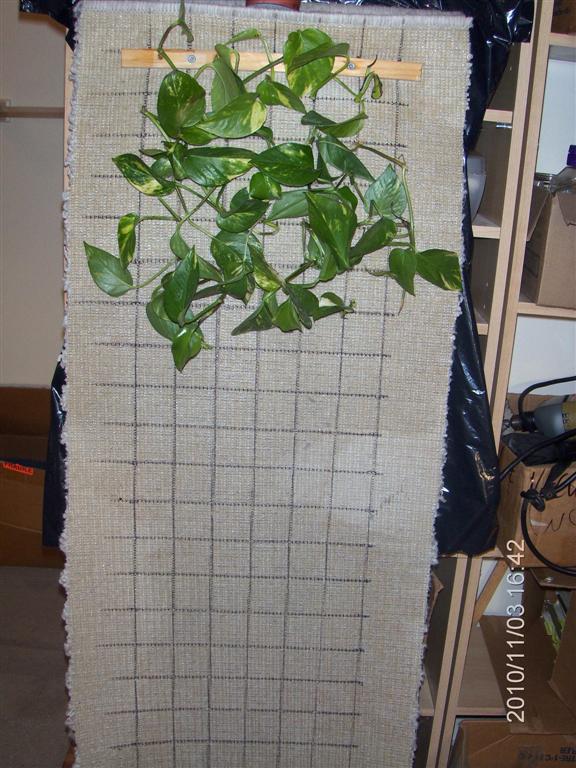
Five rows complete and a sixth started.
It take some two minutes, on average, to load a slip. That includes the time taken to wander out to the balcony and retrieve the next house plant (before it freezes to death), to ferret about to find the source of the creepers, to trim the shoots, and to place them in the carpet.
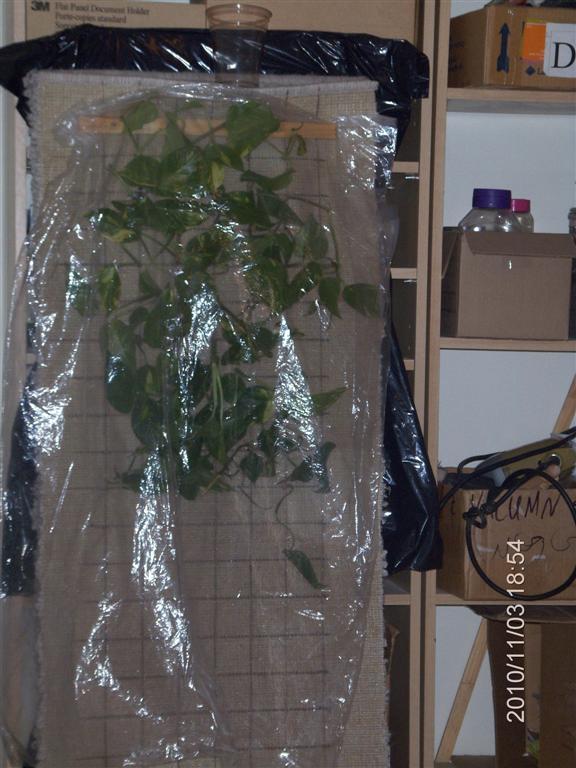
Much later:
I have ôrainedö about six beakers of water through the system and covered the slips with a clear plastic dry-cleaning bag.
I will leave the cover in place for a couple of days while the slips adjust to the room temperature.
46 slips are in place.
Saturday, November 06, 2010
I returned home from the East-Gwilliambury Chamber of Commerce gala night (Yes, Cathy Nesbitt of Cathyĺs Crawly Composters won the Excellence in Small Business award!) to find my room reeking of stale cat urine.
Not so.
The carpet, when soaked with water, gives off a smell just like that of stale cat urine.
I need to think this through ů
Sunday, November 07, 2010
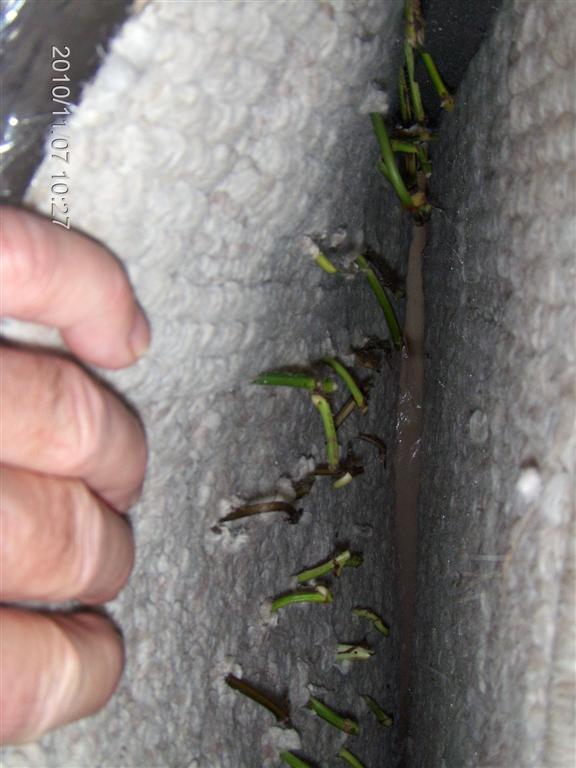
I neglected to show you what the slips look like in between the carpet layers.
In this shot I have parted the two layers.

This is a close up.
Once the rootlets form I wonĺt be able to separate the carpet layers.
Sunday, November 14, 2010
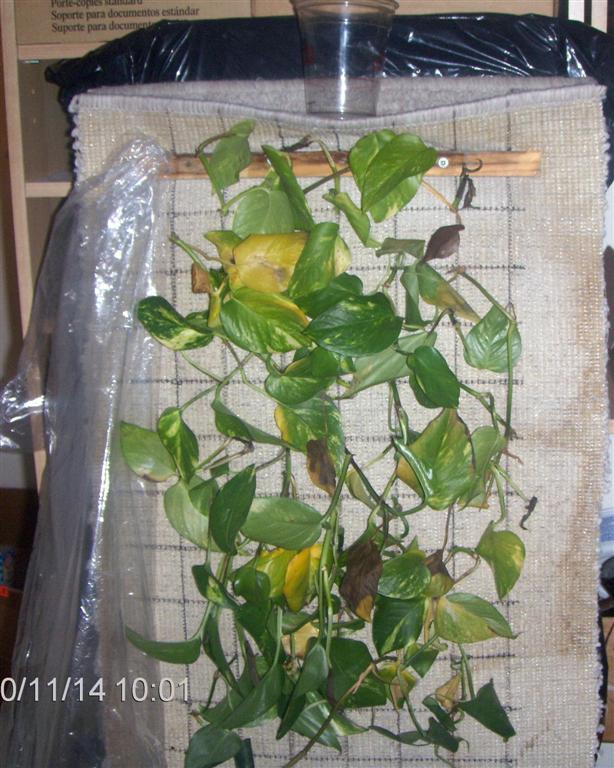
Here is the Green Wall with its clear plastic cover sheet removed.
Eleven days have passed.
Some leaves have died.
I am forgetful about loading the plastic cup with water and today will switch to a 2-litre ice-cream tub in the hopes that delievring a larger batch of water twice a day will be better than a smaller batch if and when I think about it.
709 218 7927 CPRGreaves@gmail.com Bonavista, Friday, November 27, 2020 8:28 PM Copyright ę 1996-2020 Chris Greaves. All Rights Reserved. |
|---|